Windows 'Send to'
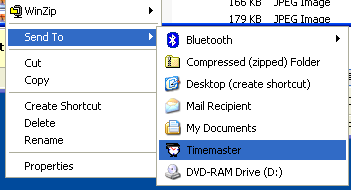
To use the Windows Send-to function, right-click on a file within Windows Explorer and select the Send to option
Purpose
Use the Windows Send-to function to send a number of files to Timemaster. This routine copies the files to the project folder and indexes them within Workflow. This is useful for attaching photographs or drawings into the project documentation.
Operation
Select the file(s) you wish to upload within Windows Explorer, right-click and select Send to and then Timemaster
(If you don’t have the Timemaster option under Send to then you need to install the Send to for your client PC. See the section on Installing Send-to and Outlook links.)
A project selector window will appear with a list of all your projects.
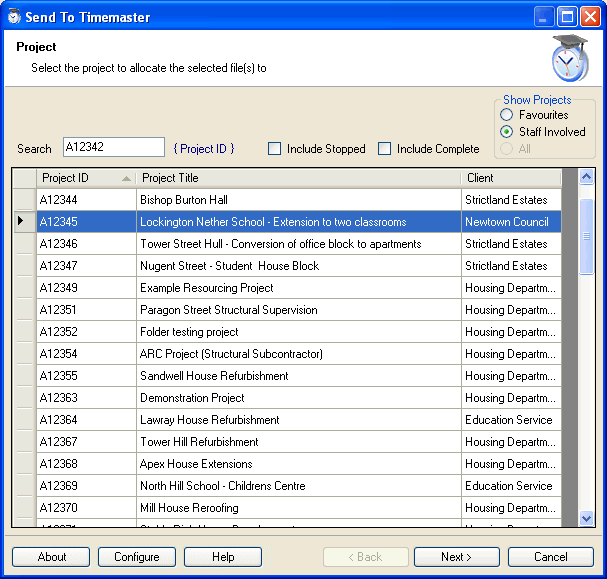
• Scroll down until you find the project you wish to attach the file(s) to
| • | A sub-list will show available actions. |
| • | You may select an action or just select the project. The choice will depend on your operating procedures. |
| • | Once the project and action combination has been chosen, click the Allocate button. |
| • | A Select Folder window will allow additional information regarding the files to be entered, this can be used to find the files later when undertaking searches. |
| • | For more information, click the Help button within the Send-to program itself. |
Description |
Enter a description for the files |
Service |
Enter a service the files relate to (i.e. whether they relate to Architects, Engineers etc) |
Folder |
Select a folder to copy the files into. This is a sub-folder of the project location |
|
|